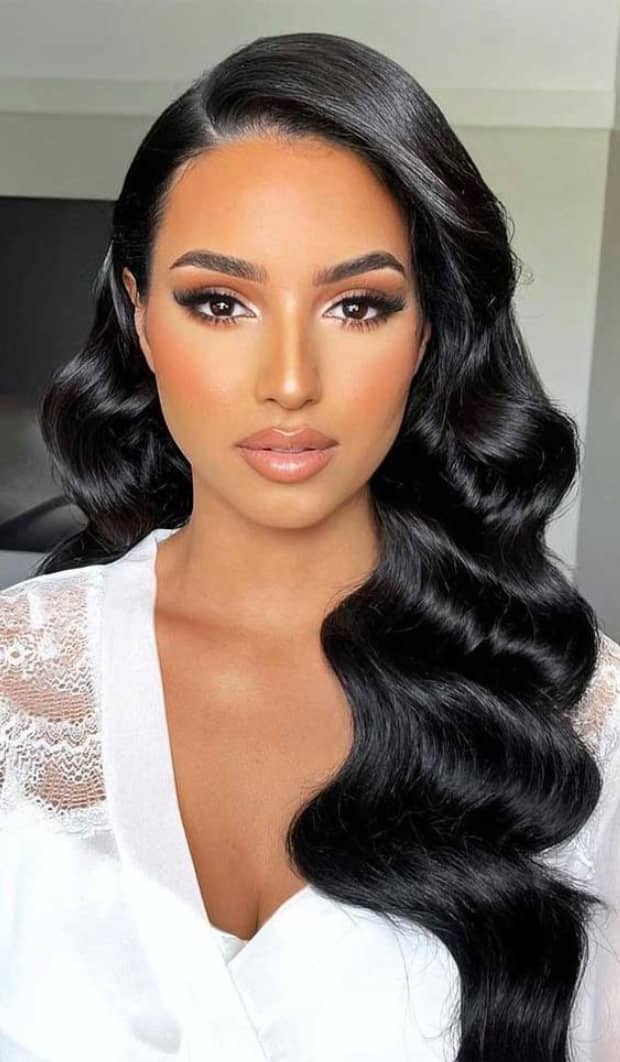
How Do You Make A Classic Hollywood Waves Hairstyle?
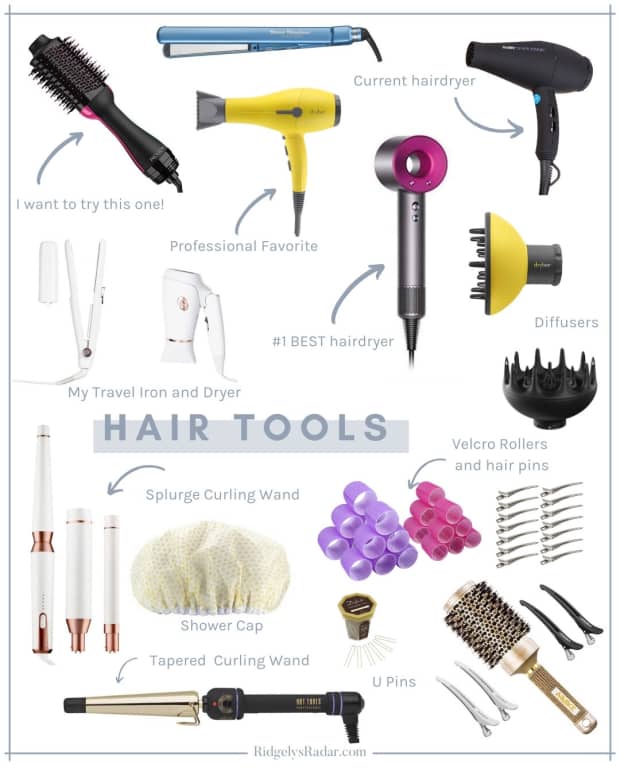
Clips, a hairdryer, a curling tong (iron), a dressing brush, and a rat tail comb are all required. After you have gathered all the necessary tools, simply follow these steps and you will have mastered this technique.

STEP 1 Begin by applying your styling product from the mid-lengths to the ends of your hair and blowing it out with your hair dryer. Some people prefer to skip or rush through this step, but it is, believe it or not, the most important. Preparation is essential, so take the time to do it right by laying the groundwork.
STEP 2 After the hair has been properly prepped, we will section it. It's time to decide where you'll part your hair. After you've secured the part, we'll start at the bottom nape area and create a 1-inch thick section with your rat tail comb. The rest of the hair will be wrapped and clipped to the top of the head.
STEP 3 We'll start curling now. However, before we begin, decide which direction you want the curls to go. That is, if your hair is parted on the left and you want the waves to direct away from your face, we will curl every single section in that direction. We'll start curling once you've determined this. Each curling section will be 1 inch thick. Try to be consistent with this because that is how you will get the best results. Wrap the hair around the iron while holding it vertically with the tip pointed down. The time it will spend on the iron will be determined by the density of your hair. When the wrapped hair feels warm to the touch, it is done. When releasing the curls, unwrap them gently so as not to disrupt the curl pattern, which is still vulnerable to change until it cools. This brings us to our next step.
STEP 4 After you've released each section, gently wrap the curls back into place and clip them with your duck bill clips. This will result in a stronger curl patter that will last all day. This occurs as a result of allowing the hair to cool completely while curled.
STEP 5 Repeat this process until the entire head shape is completed. Simply increase the iron size and the section size to make a looser version. Remember that each section is curled in the same direction and with the same tension.
STEP 6 Once the entire head has been completed and all the curls have completely cooled, remove the clips and let the curls down. Remove the clips gently so that the curl is not too disrupted.
STEP 7 This is a critical step. Brush the curls with your dressing brush. Brush in large sections and keep going. Continue brushing even after you think you've had enough. This step is critical because brushing with the dressing brush causes the waves to fall into place with one another. The wave pattern will begin to appear. If you still have time before you have to leave, you can use your duck bill clips as shown below to help push those curves into the waves.
STEP 8 This final step can be tricky because it is very easy to overdo it, so remember that less is more. If you really want to push those waves into place and give them more definition, start at the top with the first wave and place your rat tail comb horizontally just beneath the first wave. Gently push the comb up under the wave until it begins to have more definition. Please keep in mind that this is not a teasing technique, but rather a push of the wave. If you tease, you will completely destroy the wave's pattern. Apply this technique wherever the waves need to be emphasized.
Add your own details to make it your own, and that's really all there is to it. We've included images of other variations of finished results, ranging from tighter waves to looser waves, as well as shorter variations.

Hair Care Tips for Very Straight, Thin, and Fine Hair
1. If you're worried about waves falling, use a curling iron with a smaller barrel. It is also possible to purchase a curling iron with interchangeable barrels so that you can select the size that works best for you.
2. Always use a curling iron and the twist wrap curling method for a more defined wave.
3. Always use human clip-in hair that is thick and full. It acts as a scaffolding for your own hair, allowing it to last much longer.
How long do Hollywood curls last?
Absolutely Hollywood waves can last all night, but hair prep, as well as hair thickness and length, play a big role. It can be difficult to achieve the desired look with fine or very long hair.
Do you need hair extensions for Hollywood waves?
Without hair extensions, you can achieve Hollywood waves, but they may not last as long depending on your hair type.
Do Hollywood waves last all day?
Hollywood waves are also known to last all day. Your hairstylist will use a light hairspray to keep it in place, but you won't have to worry about any falling updo dramas, so you can really let loose on the dance floor!
.png?w=534&h=141)