.png?w=534&h=141)
Cornrow Types You Need To Know If You Want To Wear A Wig
Aug 07,2023 | Meru
If you desire your wig to lay naturally and blend perfectly, you'll require to ensure that your natural hair is as flat as possible prior to installing the wig. The most typical way to flatten your natural hair is to intertwine it down in cornrows.
In this short article, we'll first describe how to cornrow, and then we'll fill you in on 2 different methods to cornrow your hair extremely flat and develop the ideal canvas for your wig installation procedure. Let's solve into it!
Prepare Your Hair for Cornrows
1. Begin with newly cleaned and conditioned hair. Because your hair will be hidden under a wig for a while, you'll want to make sure that it's free of excess dirt and oils. Braiding unclean hair is never recommended. While you have the conditioner in your hair, use a wide-toothed comb or your fingers to detangle your hair. The conditioner will make your hair slippery and much easier to detangle.
2. Use your preferred moisturizer all over your hair. Your hair will need substantial wetness to remain hydrated under your wig. Apply the moisturizer and then spread it through your hair with a wide-tooth comb or your fingers. Do not overapply the item, however. You don't want your hair to be caked in accumulation.
3. Dry and stretch your hair. Numerous avoid the drying and stretching process, which isn't the very best idea. Properly drying your hair assists lessen the risk of mold growing under your wig, and stretching it makes it simpler to intertwine your hair flat. If you have extremely curly hair and braid it without stretching it, you'll discover that your braids still have a bit of height.
4. Oil your hair with your favorite hair and scalp oil. The way you oil your hair will depend on your personal preference. You can oil the whole length of your hair or just the roots. We advise oiling both the scalp and hair. For light security and frizz avoidance, rub some oil in between your palms and after that rub the oil onto your hair. For durable protection and long wig wear, apply the oil in areas, and don't forget to oil your scalp.
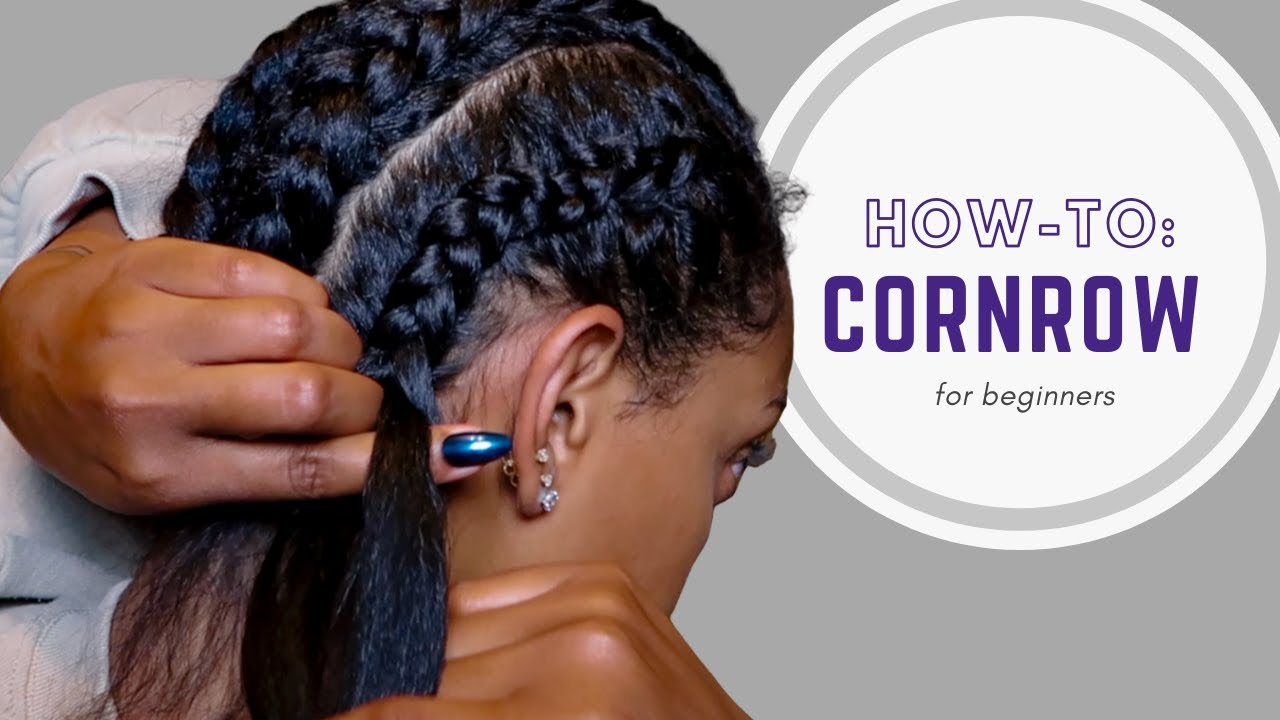
How to Cornrow
Now that your hair is prepped, you're all set for the braiding procedure. Here's how to cornrow hair action by action:
1. Part out a vertical strip of hair.
2. Apply edge control to the borders of the strip - the top, bottom, and sides.
3. At the start of the strip, separate a 1/2 inch horizontal area of hair.
4. Different that little horizontal area of hair into three equal strands. Hold the left and middle strands in your left hand and the right hair in your right-hand man.

5. Start braiding the hair by passing the strand in your right hand to the left hand and then passing the hair in your left hand to the right-hand man. Each time you pass a hair to the opposite, it must go under the hair in the middle.
6. After 2 or three passes, begin getting some of the hair below before passing a hair from one hand to the other. Continue braiding and grabbing hairs from below, and quickly, you'll observe that a cornrow is forming.
7. As soon as you've run out of hair below, continue braiding up until you get to the ends.
2 Different Cornrows for Wigs
Now that you understand how to cornrow, the cornrowing strategies below will come easy to you. We'll cover a couple of ways to cornrow your hair for a wig, consisting of straight-backs and side braids.
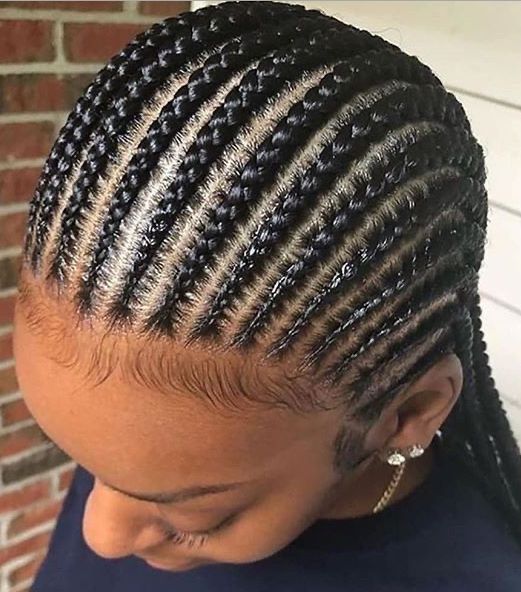
Straight Backs Cornrows (Best for Beginners).
Straight-back cornrows are the easiest and most typical way to cornrow your hair for a wig. The technique is self-explanatory; all you'll do is part your hair in vertical strips from front to back and then cornrow each section because pattern. Straight-back cornrows are best suited for wigs without any exclude. If you intend on using a wig with a curved part or a leave-out, you'll need to select a different braiding strategy.
For a video demonstration of the straight-back cornrowing procedure, see this video.
Though straight backs are extremely simple to do, there are a couple of things that you ought to bear in mind throughout the braiding process:
1. If you usually wear your wigs with a middle part, you'll need to ensure that you part your hair down the middle first and then part the other sections appropriately. And for a side-part, the exact same guideline uses; first, part your natural hair on the side, where you plan on parting your wig. Then part the remainder of the areas later.
2. Because straight backs have the potential to pluck your hairline, make sure not to pull hard on your hair as you begin each braid. Use some gel around the edges of your braids to set your hairline. That way, the braids won't get frizzy, and will last longer.
Pros and Cons of Straight Backs Cornrows
It might look like straight backs have no faults, however they do. Here are the advantages and disadvantages of straight backs for wigs:
Pros of Straight Backs Cornrows
1. Straight-backs don't require any innovative understanding about parting or any complex processes. Anyone can do them from the convenience of their home. We recommend this intertwining method if you're new to using wigs or intertwining your own hair.
2. If you plan on getting a professional wig set up, you won't have to pay much for straight backs. Since the braid pattern is extremely easy, stylists do not charge much for it. Anticipate to pay around $50 or less for professional straight-backs.
Cons of Straight Backs Cornrows
1. Straight backs tend to pluck your hairline. You could experience some pain after intertwining your hair in some cases. The chances of discomfort are greater if you aren't cautious about how tightly you are braiding your hair.
2. To some, straight backs are not really feminine. For this reason, when this braid pattern is used, individuals prevent wearing their natural hair out.
3. Your wig styling choices are a bit restricted with straight backs.
Even when you do your straight backs neatly, you might still see bumps here and there. This is probably to happen if your hair is thick or you make the braids big.
Side Cornrows (For Single Part Wigs).
If you have thick hair, or if you mainly wear a middle part, side part, or deep side part wig and desire your part to lay specifically flat, side cornrows are your best option. For this braid pattern, you'll part your natural hair wherever your wigs part is and cornrow the hair in the instructions opposite the part. For example, if you've got a deep side part wig, you'll require to part your natural hair near your temple.
Here's how to do side braids action by action:
1. Take a look at your wig and see where the part lies (middle, side, or deep side). Note which side the part is on - if you don't, your hair won't wind up flat enough near the part.
Part your natural hair where the wig's part will lay after installing the system. Make sure that you make the part directly and cool.
2. Utilize a scrunchie to protect one half of your hair. Leave the opposite loose.
3. Dealing with the loose side of your hair, part out one strip of hair that goes from the part you made in action 2 all the way to your ear. Start at the front of your head. Make the section around 1 inch or smaller sized in thickness to ensure that it's flat.
4. Cornrow the hair in the instructions of the part. Braid the hair to the ends.
5. Repeat the previous two actions till you run out of hair to braid on the first side. Then do it all once again on the other side.
6. Stitch the loose ends of the braids or pin them up using hairpins.
Note: Leave a few of your natural hair out in the middle if you have a U-part wig. The area must be rectangular. You'll braid the rest of the hair from the edges of the "rectangle" towards your ears.

Pros and Cons of Side Braids
Like straight backs, side braids feature their own distinct advantages and disadvantages. We'll dive into the great and bad associated with this braid pattern below.
Pros of Side Braids
1. Sideways braids done well make your wig's part lay completely flat. This gives your wig a 100% natural appearance.
2. Even when you make your sideways cornrows a bit on the bigger side, you won't have to fret about the wig's part area not lying flat.
Cons of Side Braids
1. Intertwining sideways can take some getting used to, and many individuals will not have the ability to do it by themselves. Those who can not master the sideways cornrowing technique will need to get help from a buddy or stylist.
2. When sideways cornrows are done too large, they can make your lace wig most likely to raise unnaturally on the sides.
Time to Cornrow
To perfect your cornrows, you'll need perseverance and loads of practice. After all, cornrows are among the most tough braid types to master. So, feel free to utilize the instructions and video demonstrations we've shared in this article to make the process pain-free. Gradually, you'll recognize that doing cornrows isn't as challenging as you initially thought and you'll be able to quickly prep your natural hair for a sleek, lovely wig install every time!